Video: Making a Retention Splint
Most orthodontic patients will require long-term retention following completion of their treatment. The latest in our series of useful, instructional videos shows you how to use SCHEU DENTAL products to fabricate a retention splint, and demonstrates the following additional techniques:
- Blocking out undercuts using SIL-KITT
- Using an Isofolan spacer layer
- Finishing with a series of recommended cutters
All the products used in this video are available to order online, including a range of materials to choose from, and a number of accessories/finishing tools.
Break and abrasion-resistant compound material. Hard on one side and soft on the other. The hard side bonds to acrylic. Pre-dried and vacuum-sealed for instant use.
Pressure moulding material made of thermoplastic polyurethane for use with DURASOFT® pd. Forms a robust inner layer of hard/soft splints providing good resistance against discolouration.
Hard-elastic transparent material which bonds to acrylic. No pre-drying required. Ideal for occlusal splints and retainers.
Hard-elastic transparent material which bonds to acrylic. No pre-drying required. With integrated insulation foil.
Perfect for occlusal splints and retainers.
IMPRELON®S pd
A new formulation which is extremely resistant to breaks and abrasions. Pre-dried and vacuum-packed for instant use. Perfect for retention splints and other applications. Currently available to order via email and phone.
Ensures optimum insulation for plaster against acrylic. Best suited as a spacer foil when pressurising hard-elastic material for splints.
SIL-KITT
Transparent silicone, used for blocking out undercuts in pressure moulding splints. Also available in red. Currently available to order via email and phone.
Robust and durable scissors for cutting splints or inserting cuts into splints after pressurising. Available in large or small.
Fine, triangular bur for interdental finishing.
Stable and flexible trimming wheel with extended working time. 3 types of grains with mandrels.
DURASPLINT® LC is a highly transparent light-curing resin, which is ideal for creating occlusal splints, dissuaders, and implants guides.
Not tried it yet? Get the lowdown with our user review and see what our technical team are saying about it.

The disappointment felt by the Eurodontic team and course delegates was palpable when our week of new product training events had to be cancelled.
Vague sympathy was expressed for the speaker who had cut his finger off in a DIY mishap a few days before travel, particularly when the initial rumours suggested he had lost several fingers – not just the one.
So now we have a training void and lots of questions being asked about new products from SCHEU Dental.
Our lab JJ Thompson (one of the biggest grumblers) had bought the new LC material and light box and were now sitting looking at the beautifully presented kit wondering where to start.

I asked them to read the accompanying brochure, have a go and report back.
They came back with the following technical report.
After briefly reading the step-by-step instructions we started by taking the contents out of the box, muttering ‘these manufacturers love selling kits, I bet we don’t need half the stuff in here, but the box itself will be good for storage later I suppose.’
One of the main messages we took from our brief scan of the instructions was – ‘it is very important that the base layer is not allowed to flex during manufacturing, flexing will increase the likelihood of the bond between the LC material and the base layer failing’.
The instructions go on to state, ‘the model should be surveyed using a model surveyor to determine undercuts’. We debated this, but decided we ought to be able see undercuts with our trained eye, and from a practical point of view we didn’t have time for this. Perhaps if we had a problematic case we’d use a model surveyor, but for trial purposes we didn’t.
The brochure went on to advise, ‘Using red Silkit or other blocking out product – block out the undercuts’. We usually block out with plaster, as it’s cheaper and quicker, but feeling duty-bound to follow at least one of the instructions, we used red Silkit.
It was actually quite a nice product. We do use the clear Silkit whilst manufacturing snoring appliances, but we hadn’t used the red. Our experience with Silkit is that it doesn’t stick to wet models so you do have to make sure the models are prepared in advance. The material is a bit fiddly and very sticky but after blocking out undercuts on two or three teeth it got easier and it was nice to be able to see really clearly where we had worked. Bearing in mind our failure to follow the instruction about surveying the model, we blocked out heavily.
One advantage of using Silkit is that it can be removed from the model after appliance production – however it does leave a red stain.
Silkit – 8/10
Once the models had been blocked out we put on the Isofolan layer and then a Duran 1.5mm layer. SCHEU recommend a minimum thickness of 1.5mm to avoid flexing. We didn’t follow this instruction right from the start as 1.5mm seemed too thick. But after opting for the 1mm it did indeed flex too much. So we chalked that one up to experience and used the 1.5mm as instructed.
The excess 1.5mm Duran material was removed to make it easier to work, and following the instructions we roughened the baseplate up with a course brown Dimo wheel. This is quite an important step, as the shiny surface has to be removed to prepare for bonding and the roughening up has to extend further than the appliance margins. A bit of time has to be taken here going round gingival margins and intercuspid crevices.

When this step is complete, we wiped the surface over with an alcohol wipe to remove fingerprints and dust before painting with primer. We put our gloves on at this stage to prevent touching the freshly prepared surface with our fingers. A thin layer of primer
was painted on the appliance. It was easy to see where we had painted as we were
now putting the gloss back on the baseplate. Again, the primer needs to be extended further than the appliance margins.
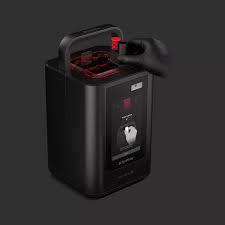
The primed appliance went in the lightbox for 5 minutes. We had purchased a new SCHEU lightbox for this as we only had a very old Triad and no one could find the instruction book to see what the spectral range was. We were pleasantly surprised by our new lightbox. It had typical SCHEU styling, was lightweight and according to SCHEU Dental had enough space for two models. Actually, we put four in the box, and they were high models on articulated bases and still the LC material cured well.
Lightbox – 10/10
When you receive the lightbox you have to put the bulbs in yourself. It comes with white and blue bulbs and they have to be positioned alternately (read the instructions!) If you look in the box while it’s curing, it does look like the white ones aren’t working – they are, you just can’t see them. The good thing is they are not hideously expensive special bulbs that have to be ordered from SCHEU – you can buy them online, so keep the packaging as you will need it when replacing.
We removed the primed and cured baseplate from the lightbox with gloved hands and eagerly opened our little black box of LC material. It wasn’t until we noticed the material sticking to our gloves that we remembered that little pot of insulating cream in the kit box. Oops. It’s essential to use this on your gloved fingers. If you are using opposing models to make indentations you can also use the cream as a separator by brushing on the occlusal surfaces. Alternatively you can soak opposing models in water if they are able to be removed from the articulator – as soaking in water works just as well.
Insulating cream – 7/10. A good product but the pot is rather small.
The Durasplint LC material is quite expensive when compared to conventional resins so you need to think about how you are using it. If you are intending to make a thick appliance, use a thicker baseplate. The LC material must be moulded to give a thin coverage over the whole of the appliance and just beyond the margins. You shouldn’t try to just stick a block or a ramp to the baseplate as the joins will be visible and weak and the bond will fail on the join. Whatever you choose to build can be shaped to finish using your gloved fingers and clean tools. The more effort you put in here, the less trimming you will need to do.
After curing your appliance for 20 minutes you should wipe it over with alcohol again to remove sticky residue. If you forget this and go straight to trimming, your trimming burs will be clogged up within seconds. You should do as much trimming as possible whilst the appliance is on the model and cut the appliance to its intended depth before attempting to remove from the model – it’s all to prevent flexing of the baseplate.
The two cutting burs included in the kit are nice quality burs and can be bought singly. The LC material is hard, like all light cured acrylic, and produces a very fine dust. Bur marks are not easy to remove and we did have to use a brown Dimo before our appliance was smooth enough for polishing.
Burs – 10/10. We use a similar larger bur in the lab already, but rarely use the thin version. We need to compare prices of the single burs to see if it’s worth changing to these.
The polish and polishing wheels included in the kit look great, but we had access to a lathe with pumice and polish and our impatience was too great to ignore, so we finished our appliances on the big lathe. After polishing we went back and put a bit more shape on the appliance edges, so we did end up giving the polish bars and polishing wheels a try. The results were better than expected, but we didn’t use them enough to give a rating.
LC material – 9/10. A bit expensive when compared to building up with a cold cure resin, however it gives a beautifully light, smooth and clear appliance which the manufacturers claim is highly resistant to discolouration. It seems to offer qualities similar to heat curing but at a fraction of the time.
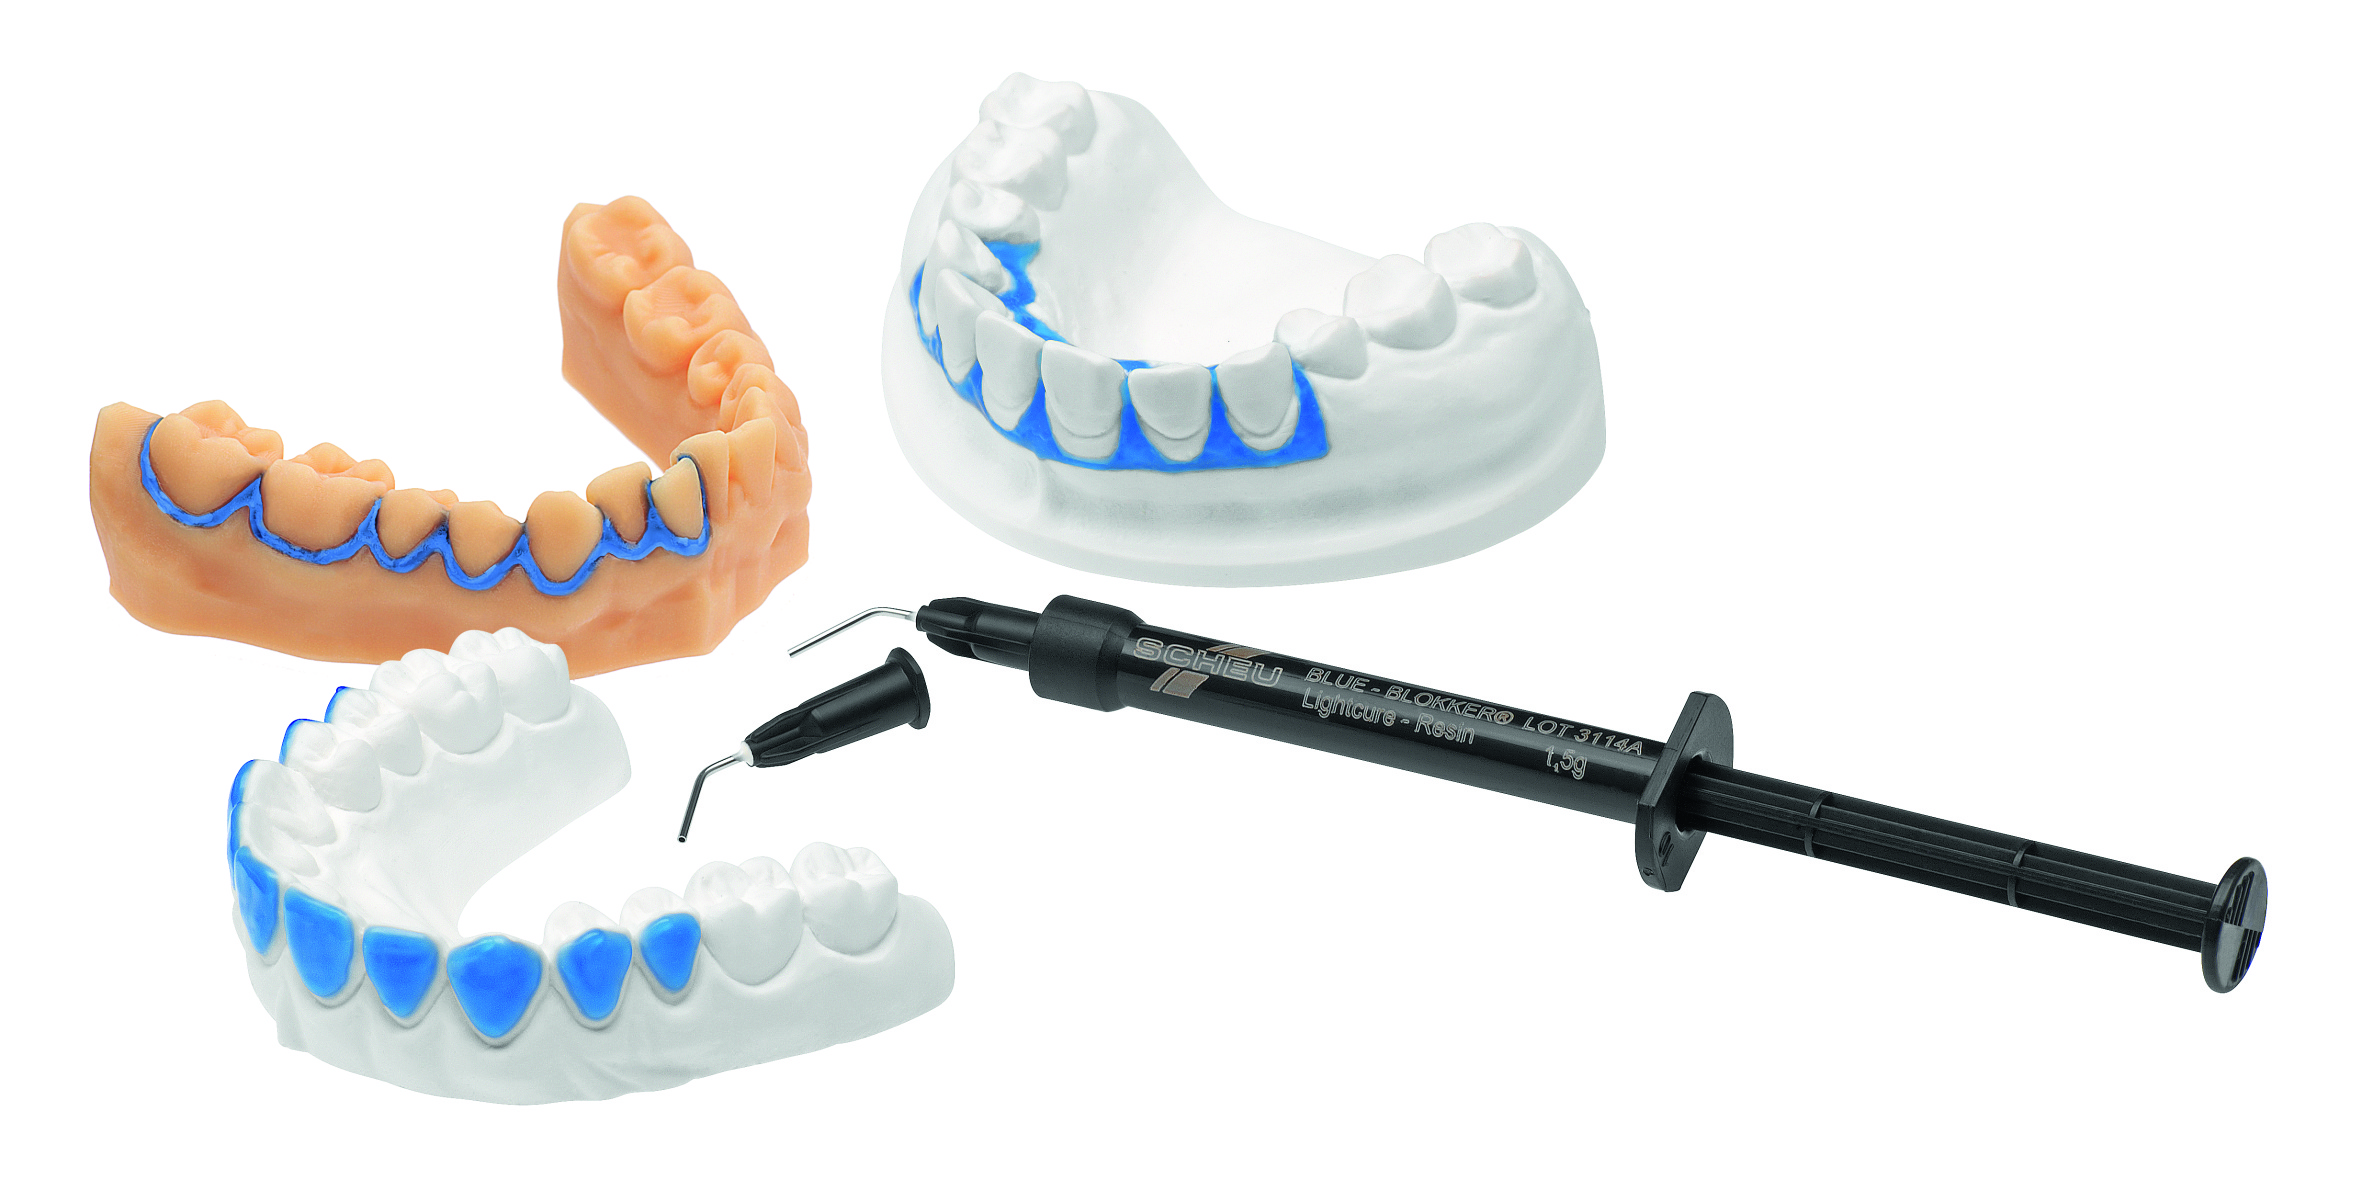
The kit comes with a cannula of light curable Clear Blokker which is the new clear version of SCHEU Blue Blokker. Unlike the blue version, this clear material has been passed for intra-oral use and it will bond with the Duran baseplate and Durasplint LC material. It’s intended for fine repairs or adjustments, and obviously the appliance has to be prepared and primed before adding any additional LC material or Clear Blokker.
SCHEU LC complete kit – 9/10 . Overall the kit was very good. It wasn’t just a pretty box – it was full of essentials, and it did include an essential step-by-step guide, if only we technicians had the patience to read it! However, it could have included brown Dimo wheels as these were pretty essential too.
For those of you wondering about the fate of the speaker, he did have his digit reattached and is now making a full recovery. We hope to bring you the new product course in 2016.

Once every five years, the world’s orthodontists gather to share their expertise and research. The WFO Congress is the only event to bring together the international orthodontic community to celebrate the science and art of orthodontics, providing the ideal forum for orthodontists from around the world to improve their knowledge and clinical skills.
The latest Congress takes place this year from 27th – 30th September at ExCel, London with a busy programme for orthodontic practitioners and professionals. It offers the opportunity to meet, network and exchange knowledge and ideas with colleagues and peers from across the globe.
Eurodontic and JJ Thompson are incredibly excited to be joining them! If you’re planning to attend, please pop by and say hello. We’ll be joined by our suppliers SCHEU DENTAL and Rocky Mountain Orthodontics, and together we’ll be showcasing some of the world’s very best orthodontic products, materials and services.
To find out more about the Congress, please visit the website.
We’ll look forward to seeing you there!
The latest in our series of instructional videos shows the fabrication of a Bioplast® mouthguard.
Watch out for our longer feature on mouthguards coming later in the summer!
Here is the first in a series of free, short clips that demonstrate useful techniques in the manufacture of popular orthodontic appliances. This one shows the fabrication of a bleaching splint, including the application of Blue Blokker.
We hope you find them useful!
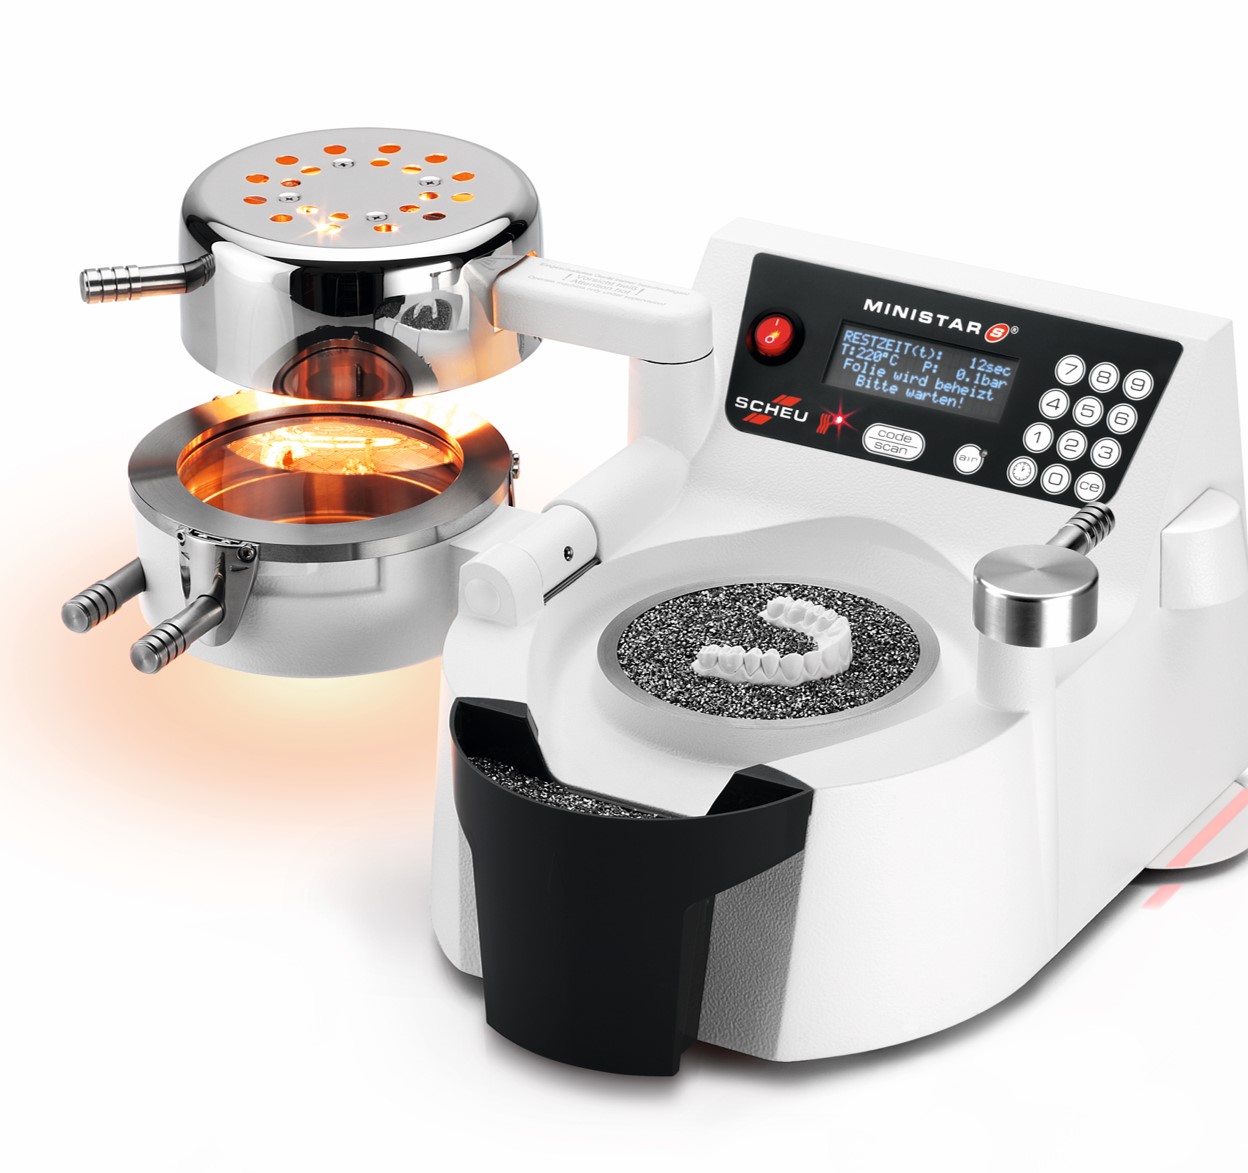
The Scheu- Dental MINISTAR S®, combined with an extensive selection of coded plates and accessories, offers maximum efficiency in your daily work.
New thermostatic technology means huge advances in the ease and handling of pressure moulding machine operation. Working temperature is reached within one second, so material can be heated immediately after the heater is turned on. With the MINISTAR S®, the pressure moulding process is complete before other machines reach working temperature!
The new MINISTAR S® utilises the same proven principles as previous generations of positive pressure moulding machines. Thermostatic technology guarantees constant temperatures regardless of external influences such as room temperature and line voltage. The result is perfectly heated material and reproducible moulds – every time.
The side of the material which is placed directly over the model is heated. The surface temperature of this side of the material is up to 60º C higher than other methods. This technique, combined with the increased working pressure of 4,0 bar, guarantees flawless adaptation for both thin and thick materials, up to 4 – 5 mm.
The ergonomically formed pellet container provides complete control for precise embedding and covering the models. Excess pellets automatically fall into the channel surrounding the cup and are easily brushed back into the pellet container.
Key data
AC/Voltage: 230 V, 850 VA 115 V, 850 VA 100 V, 850 VA
Pressure: 0.5 – 4.0 bar
Measurements: 420 x 190 x 350 mm
Weight: 9.0 kg
The no.1 choice in pressure moulding technology now offers even higher performance and fast, precision results.
This is a versatile pressure moulding machine with many applications in dental pressure moulding and orthodontics. The revolutionary new BIOSTAR®, together with an extensive range of materials and accessories, offers maximum efficiency and results.
- Large LCD colour display
- Smart, in-built data bank which identifies scanned material for optimum results
- Application guides and animated videos to assist fabrication
- Enlarged model cup and a USB port
- Patented thermostatic heater control
- 6 bar working pressure
- Working temperature reached in 1 second
The new BIOSTAR® utilises the same proven principles as previous generations of positive pressure moulding machines. The side of the material which is placed directly over the model is heated. The surface temperature of this side of the material is up to 60° C higher, and thanks to the superior working principle of 6 bar positive pressure absolutely precise moulds are guaranteed, using very thin foils as well as plates up to a thickness of 4-5 mm.
The short-wave, thermostatically-controlled infrared heater reaches working temperature within 1 second without waiting time. Immediately after setting the code the infrared heater reaches the working temperature and the foils can be plastified. With the BIOSTAR, the pressure moulding process is complete before many other machines even reach working temperature. The result is perfectly heated material and reproducable moulds every time.
The ergonomically formed pellet receiver provides complete control for precise embedding and covering of the models. Excess pellets automatically fall into the channel surrounding the cup and can be used again immediately.
Innovative scanner technology records all important data such as temperature, heating- and cooling time from the barcode, which is printed on each single SCHEU-foil. The data and the processing are shown on the display.
Each single foil is coded to prevent mixing up of materials.
Key data
Power: 230 V, 850 W
Working pressure: 0.5 – 6.0 bar
Measurements (W x H x L): 450 x 230 x 260 mm
Weight: 14 kg
Every Biostar® comes with a 3 year warranty and extensive after-sales support, including access to training and workshops to ensure you get the best out of your purchase.
The Dental Technology Showcase (DTS) provides the UK dental lab community with a showcase of the latest dental technology, materials and techniques.
Consistently the profession’s most attended networking and education event, DTS is a firm favourite with lab owners and technicians alike.
DTS 2014 is taking place on 28 Feb and 1 March at Birmingham’s NEC and will offer:
- The largest display of dental technology in the UK
- A unique range of hands-on training workshops
- Guest speakers including Paul Mallett BSc, whose presentation is sponsored by Eurodontic
- Live demonstrations
- A two-day world-class education programme
- Product launches and technical insight
- Special offers from the trade
- Networking opportunities
Come and find JJ Thompson and Eurodontic at Stand 320 – we’ll be waiting to say hello!
For more information and to register your place, visit the Dental Technology Showcase website.
BDTA Dental Showcase is renowned as the UK’s biggest and most important dental exhibition.
This year’s event takes place on 17 – 19 October at the Birmingham NEC.
Each year, the event brings together over 10,000 members of the dental community, from every corner of the profession to meet with on-stand experts presenting the biggest selection of dental equipment, products, technologies and services in the UK.
Come and find us at Stand C15
Date for your diary – we’ll be attending the 27th annual British Orthodontic Conference on 19-21 September!
Taking place in Manchester, at the Central Convention Complex on Windmill Street, we’ll be on Stand 18 in the Exchange Hall.
We’ll be sharing the stand with our sister company JJ Thompson and we’ll have some great items on display, including some brand new products that were launched at the IDS this year.
Come along and have a chat with us. It’ll be great to catch up!

The iconic Midland Hotel in the heart of Manchester City Centre sits opposite the conference centre.
FLI Buccal Tubes deliver superior performance in an extremely small package. With Metal-Injection-Molded (MIM) construction for smooth, comfortable contours, the ultra-low profile design features enhanced mesial openings that make wire insertion a snap.
Combined with RMO’s anatomical bases, the FLI series is ideal for both direct bonding and molar band applications.
For a limited time, Eurodontic is offering FLI Buccal Tubes at the special price of £25.26 for 10 pieces.

To order or to make an enquiry, call 0114 2766813 or email sales@eurodontic.co.uk.
For information on the different sizes available, just click on the link below:
FLITubes leaflet – range with codes.