SprintRay Die and Model 2 Grey Resin
£122.95

SprintRay Die and Model 2
(£108 each when you add 6 bottles to basket, price will be adjusted on invoice)
1Kg Grey
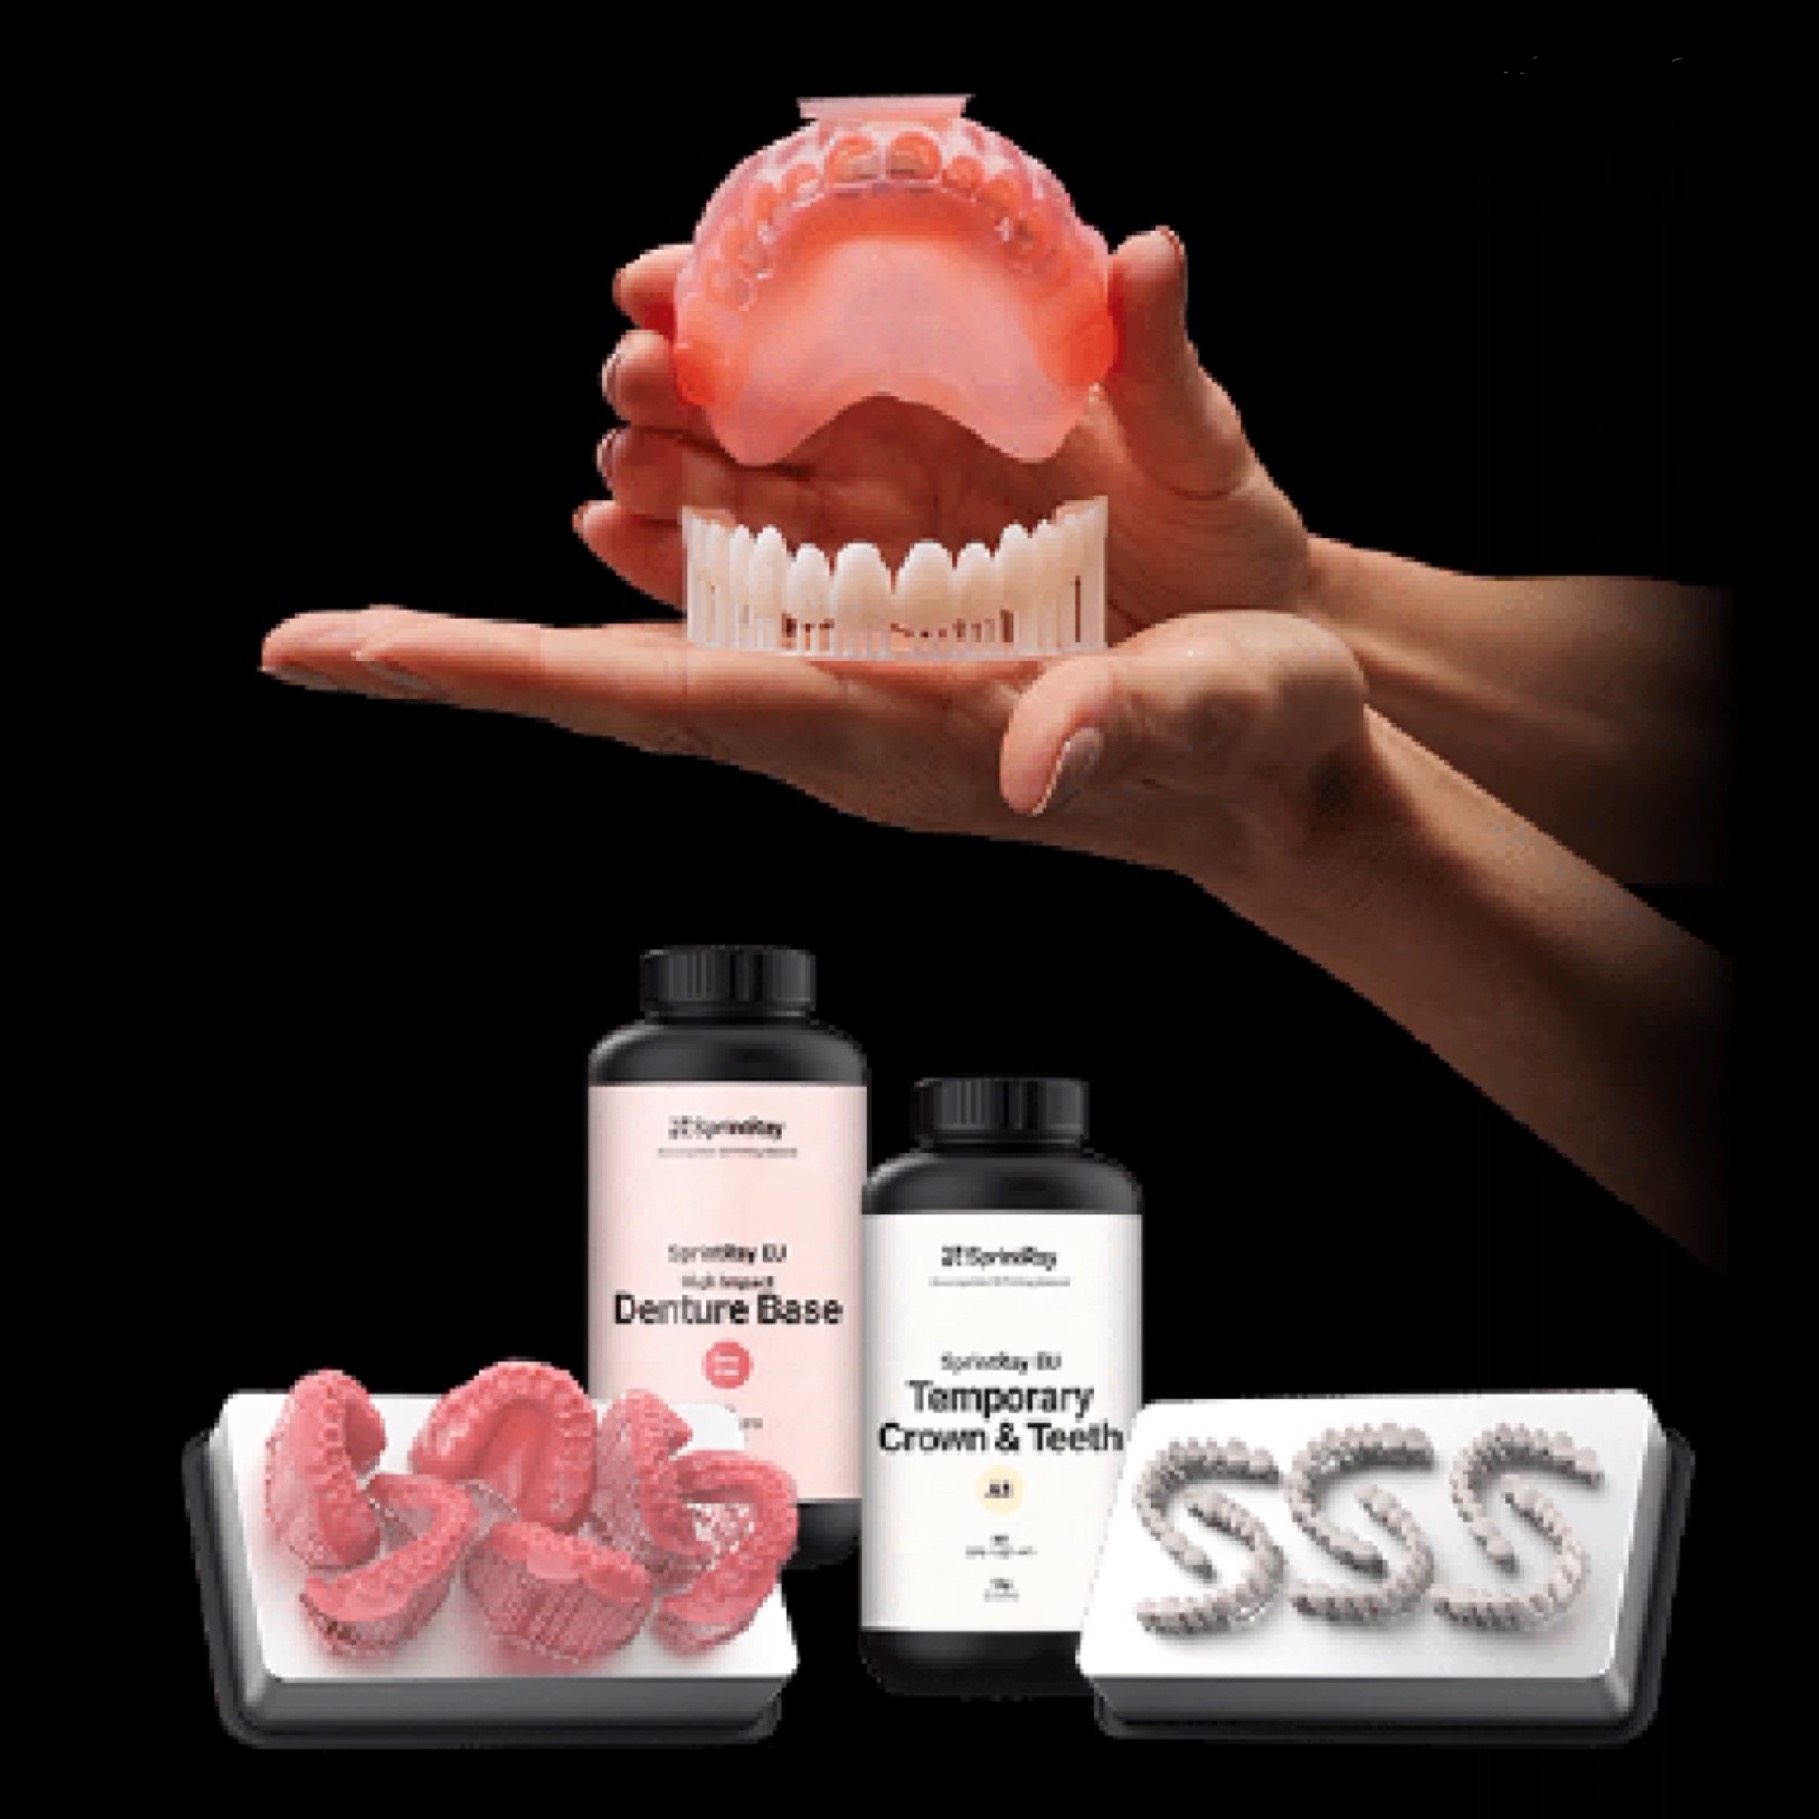
Rapidly 3D Print High-contrast Dental Models
SprintRay Die & Model 2 represents a big step forward in dental modelling materials. Our new colors mimic classic dental stone and feature almost no pigment settling, which means you can spend more time printing and less time mixing. Improved adhesion to the build plate is matched by an increase in flexural modulus and strength, providing higher success rates and a reduced chance of breakage.
A reduced odor improves the quality of life for 3D printing models for an overall experience that your practice staff will love. Plus, Die & Model 2 resins are easier to separate from thermoforming materials, saving time and labor for more efficient in-office fabrication workflows. With rapid, repeatable results that are easier than ever to use, Die & Model 2 is helping to bring dental 3D printing into dental practices everywhere.
SprintRay Dental Model is a biocompatible model material that’s designed for precision, speed, and aesthetics. Because dental models are used so frequently in the production workflow, the Biomaterial Innovation lab designed it to be extremely versatile, with incredible surface finish and aesthetics without sacrificing speed.
Dental Model features an incredible 99.6% accuracy and outstanding dimensional stability. It is odorless and features improved colors and pigment distribution for flawless aesthetics.
3D Printing
Sign in to RayWare Cloud and select the appliance type; the algorithm will automatically orient
and add supports. Select this material and use the desired layer thickness. Queue the job to
your printer.
Shake the resin bottle thoroughly for one minute, then pour into the resin tank up to at least the
min fill line. From the printer touchscreen, assign the resin tank to the proper material and
shade, then navigate to the printer queue. Start the print job.
Part and Support Removal
After your device has been printed, remove it from the print platform using the provided Print
Removal Tool. Remove all supports using a flush cutter or round diamond disc. Cut as close as
possible to the device to minimize the smoothening and finishing procedure.
Washing and Drying
Use ≥91% IPA to wash the device using the SprintRay Pro Wash S or SprintRay Pro Wash/Dry:
Standard cleaning cycle
To ensure the proper function of the wash unit, always follow on-screen instructions for device
cleanliness and maintenance. Dry the part completely before post curing.
Post Curing
Use one of the following post-curing equipment from SprintRay to cure the device and select the
preprogrammed profile for Die & Model 2:
● NanoCure (preprogrammed material profile)
● ProCure 2 (preprogrammed material profile)
● ProCure (preprogrammed material profile)
Finishing
Wash and clean the device with a brush using soap and warm water.
https://sprintray.com/pro2-dental-3d-printer/
https://www.eurodontic.co.uk/product-category/cad-cam/dexis-i-o-scanners/